.png)
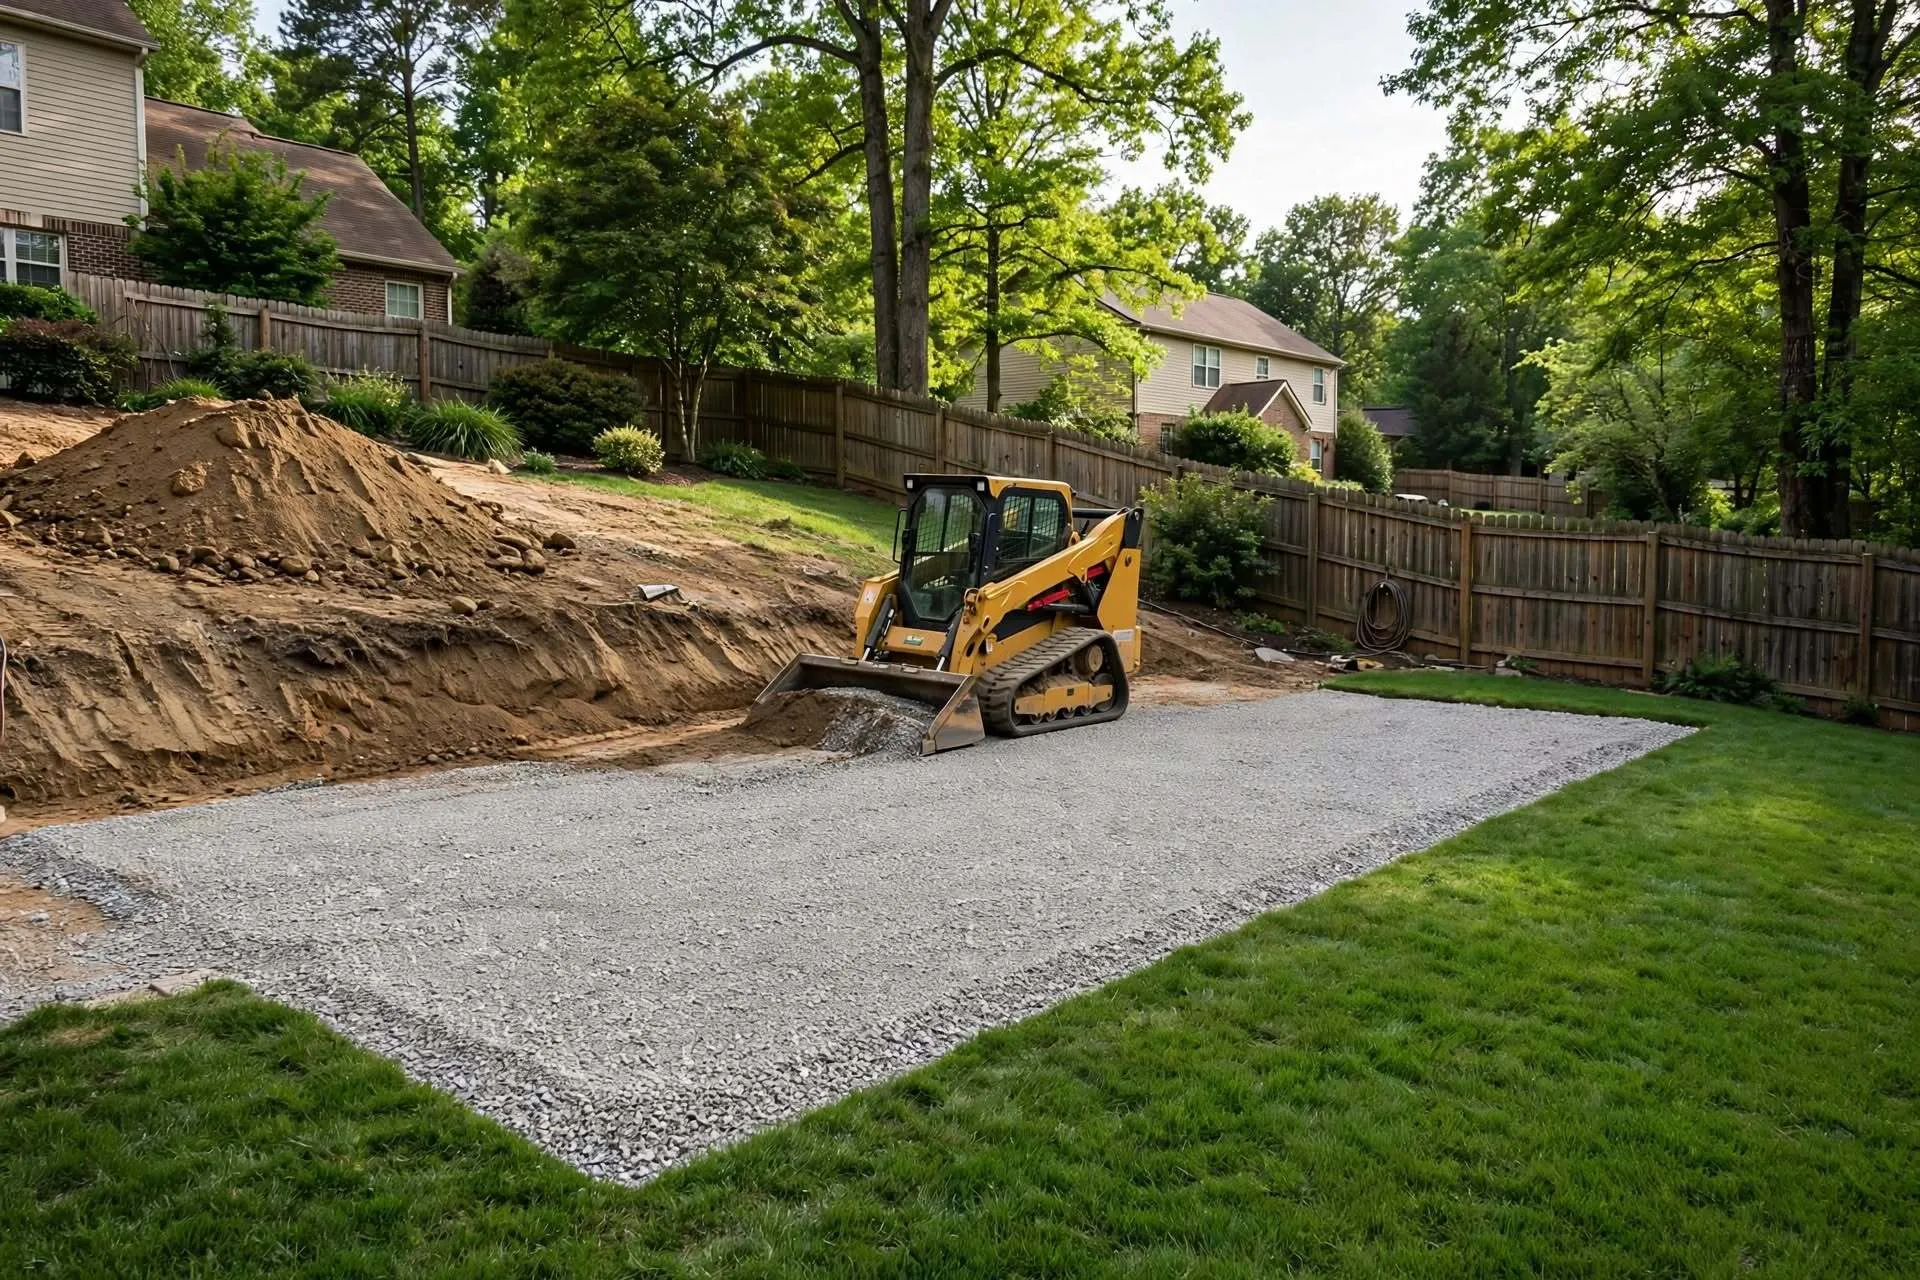
So you have a sloped backyard and you are dreaming of a flat patio where you can put a grill, a table, and maybe a fire pit without everything sliding downhill. I get it. I've seen hundreds of Franklin backyards where the view is beautiful from the deck, but the ground drops a foot or two right where you want to sit. With the right yard equipment rental, you can level the ground, move soil, and prepare the area for a more functional outdoor space.
Can you just throw some pavers down and hope for the best? You could, but six months from now you'll have wobbly chairs, pooling water, and cracks. If you want your patio to stay flat and dry after a heavy Tennessee rain, leveling is the one step you absolutely cannot skip. Let's do it right, step by step, like I'm standing in your yard with you.
Why You Can't Build a Patio on a Slope Without Leveling
Think of your patio like a table. Would you put a table on a hillside and expect your coffee not to spill? Of course not.
What Happens If You Skip Leveling?
When you build on a slope without leveling, three things happen. First, your base slowly slides downhill every time it rains. Second, water pools under your pavers on the low side, and in winter that water freezes and heaves. Third, your furniture never sits level. You end up putting little shims under the table legs. It looks messy and it feels unsafe.
The Real Cost of a Cracked Patio
A cracked patio is not just ugly. It costs you double. You have to rip out the pavers, haul out the bad base, bring in new gravel, compact again, and relay everything. Doing the leveling right the first time takes one weekend. Fixing it later takes two weekends and twice the money. Trust me, the extra four hours of proper leveling saves you a year of regret.
How to Measure Your Slope and Plan Your Patio Layout
Before you touch a shovel, you need to know your numbers. This part is easy and you only need cheap tools.
Tools You Need to Mark Your Patio Area
Grab four wooden stakes, a ball of mason string, a line level that clips on the string, and a can of marking paint. That's it. No laser level needed for a small patio.
Drive the stakes at the four corners of your future patio. Let's say you want a 12x16 foot patio. Make the outline slightly bigger - maybe 13x17 - so you have room to work. Tie the string around the stakes at the height you want your finished patio to be. Now clip the line level on the string. When the bubble is centered, your string is level.
How to Read Your Slope with a String Line
Now measure down from your level string to the ground at each stake. On the high side near your house, it might be 6 inches. On the low side farthest from your house, it might be 20 inches. That difference - 14 inches in this example - is your slope. Write it down. In Franklin, most backyards drop 12 to 24 inches over a 12-foot run. If yours is less than 12 inches, it's an easy job. If it's more than 18 inches, you'll need a small retaining edge. Spray paint the outline so your helper can see it too.
The 8-Step Process to Level a Sloped Backyard Like a Pro
Okay, you know your slope. Now let's get to work. This is exactly how contractors do it, just on a smaller scale.
Step 1 - Call 811 and Check Drainage
Please, don't skip this. Call 811. It's free in Tennessee and they will come out in 2-3 days and mark all your gas, electric, cable, and water lines with paint. In Williamson County, I see shallow irrigation lines and low-voltage landscape lights right where people want to dig all the time.
While you wait, watch water. The next time it rains, stand under your covered porch and watch where water goes. Does it run straight down the slope toward your patio area? Does it pool near your foundation? You want your finished patio to pitch slightly away from your house - about 1 inch of fall for every 8 feet. That tiny slope is invisible when you stand on it, but it moves water away from your house.
Step 2 - Strip the Sod and Remove Topsoil
Start by taking off the grass. A sod cutter is your best friend here. It cuts the sod into neat 18-inch wide strips you can roll up like carpet. You can reuse that sod to patch bare spots elsewhere in your yard.
Next, scrape off the dark topsoil - the top 2 to 3 inches that is black and full of roots. Why? Topsoil has organic matter in it. That organic matter rots over time and your patio sinks right where that topsoil was. You want to build on firm, light brown clay subsoil. Pile that topsoil to the side. It's gold for your garden beds later.
Step 3 - Cut the High Side and Fill the Low Side
This is the actual leveling. Imagine your slope is a seesaw. You need to cut from the high end and fill the low end until they meet in the middle.
If your slope is more than a foot, rent a mini skid steer that can fit through a 36-inch gate. Franklin backyards are tight with fences and AC units everywhere - a big machine won't fit. Start on the high side. Cut in thin layers, maybe 2 inches at a time, and push that soil to the low side.
Why You Must Compact in Thin Lifts
Here is the secret every pro knows: never dump a big pile of loose dirt on the low side. Loose fill settles. Your patio will sink and crack next year.
Instead, spread fill in 4-inch lifts. Spread 4 inches, then run a plate compactor over it. Then spread another 4 inches, compact again. Overlap your passes like you are mowing a lawn. You'll hear the compactor's sound change from a thud to a high-pitched rattle when the soil is tight. For a 12-inch drop, that might be three lifts on the low side. Yes, it takes longer. But your patio will still be flat in 10 years.
Keep checking with your string line and a long 2x4 with a level on top. Slide the 2x4 across your area. If it rocks, you have a high spot. If you see daylight under it, you have a low spot.
Step 4 - Build a Small Retaining Edge If Your Cut Is Deep
If you had to cut more than 12 inches into the hillside on the high side, that hillside will want to slide back onto your patio over winter. You need a small edge to hold it.
This doesn't have to be a massive wall. For a 12 to 18-inch cut, many Franklin homeowners use pressure-treated 6x6 timbers or small concrete retaining blocks. Dig a trench 6 inches deep for your first course. Add 2 inches of compacted gravel in the trench for drainage. Set your first timber or block and make it perfectly level. Stack the next rows, staggering joints like bricks. That little edge holds back the hill and gives your patio a clean, finished look.
Building a Base That Lasts 20 Years, Not 2 Years
I've seen beautiful $10,000 paver patios fail because the base was only 2 inches thick. Your pavers are only as good as what is under them.
Why Gravel Base Is More Important Than Pavers
For Franklin's clay soil, you need 4 to 6 inches of compacted crushed limestone - often called 3/4 inch minus or Class 5. This stone has fines in it that lock together when compacted. It doesn't hold water like round river rock does.
Dump your gravel and spread it roughly with a shovel. Again, work in lifts. Spread 2 inches, compact. Spread another 2 inches, compact. After your gravel is in, add 1 inch of coarse concrete sand - not play sand. Screed that sand flat using two metal pipes and a straight 2x4. Drag the board across the pipes to make a perfectly flat sand bed. This is what your pavers actually sit on.
How Much Pitch You Need for Water Drainage
Remember that tiny pitch we talked about? Now is when you set it. Your finished gravel and sand should slope away from your house at about 1% to 2%. That's only 1/8 to 1/4 inch of drop per foot. You won't feel it when you walk, but water will. Use your level to check. If water sits on your patio after a rain, mosquitoes will love you. If it runs away, you will. If you notice drainage problems during the project, a drain auger rental can help clear clogged drain lines and improve water flow where blockages are the issue.
Final Checks, Cleanup, and What Most People Forget
You are almost there. Before you lay a single paver, walk the whole base. Does it feel soft anywhere? Jump on it lightly. If your heel sinks, compact again. Let it sit overnight if you can. Low spots often show up the next morning after the base settles. Fixing a low spot with a handful of sand now takes 30 seconds. Fixing it after pavers are down takes 30 minutes.
How to Handle Downspouts and Underground Drains
This is what most DIY articles forget. Where does your roof water go? In many Franklin homes, a downspout dumps right where the new patio will be. If that water runs across your new patio, you'll have mud and algae in a month. Consider extending that downspout with solid pipe under or around your patio to daylight downhill.
In older homes, those underground pipes get clogged with clay and roots from those big oak trees. If you see water bubbling up near your patio after the first rain, your underground line might be blocked. It's worth checking before you finish.
Conclusion
Leveling a sloped backyard feels like a big job, but it's really just a bunch of small, careful steps done in the right order. Mark it with string, call 811, strip the sod and topsoil, cut and fill in thin 4-inch lifts with compaction every time, build a small retaining edge if you cut deep, and then build a proper 4 to 6-inch gravel base with a tiny pitch away from your house.
Don't rush the compaction part. That's the difference between a patio that lasts 20 years and one that cracks in two. Rent small machines that fit through your gate, take your time, and check your level constantly. Your future patio isn't just a place for a grill - it's where morning coffee, birthdays, and late summer fires will happen. Build the base right, and everything else is easy.
FAQs
1. How much drop is too much to level by hand for a patio?
If your backyard drops more than 8 to 10 inches over your 12-foot patio area, doing it by hand with shovels and a wheelbarrow will take you two full weekends and your back will hate you. For anything over 12 inches, a mini skid steer and a plate compactor that can fit through a 36-inch gate will save you about 16 hours of hard digging and give you much better compaction.
2. Can I use the soil I cut from the high side to fill the low side?
Yes, and you should. That's exactly what cut-and-fill means. Just make sure you are not using dark topsoil full of roots for fill. Use the lighter brown subsoil underneath. Topsoil will decompose and cause sinking. Save topsoil for your flower beds and use subsoil plus crushed gravel for your patio base.
3. How long do I need to wait after leveling before I can lay pavers?
If you compacted in thin 4-inch lifts with a plate compactor, you can start laying pavers the next day. Walk on it - if it feels as hard as a driveway, you are good. If you just dumped loose soil without compacting, you need to wait at least a week and let a couple of rains help it settle, or it will sink later under your pavers.
4. Do I need a permit to level my backyard and build a patio in Franklin TN?
For just leveling and laying pavers at ground level, most of Franklin and Williamson County does not require a permit. If you are building a retaining wall taller than 4 feet or adding electrical or plumbing to the patio, you will need one. Always call your city planning office at 615-550-6633 or check with your HOA before you start, just to be safe.
5. What is the cheapest way to keep my leveled patio from washing out in heavy rain?
The cheapest insurance is that tiny 1% pitch away from your house plus a small gravel edge or timber border on the low side. That stops water from undermining your base. Also, make sure your downspouts don't dump onto the patio. Extending a downspout with $20 of solid PVC pipe away from your patio does more to prevent washout than anything else you can do.